2026-04-13
Content
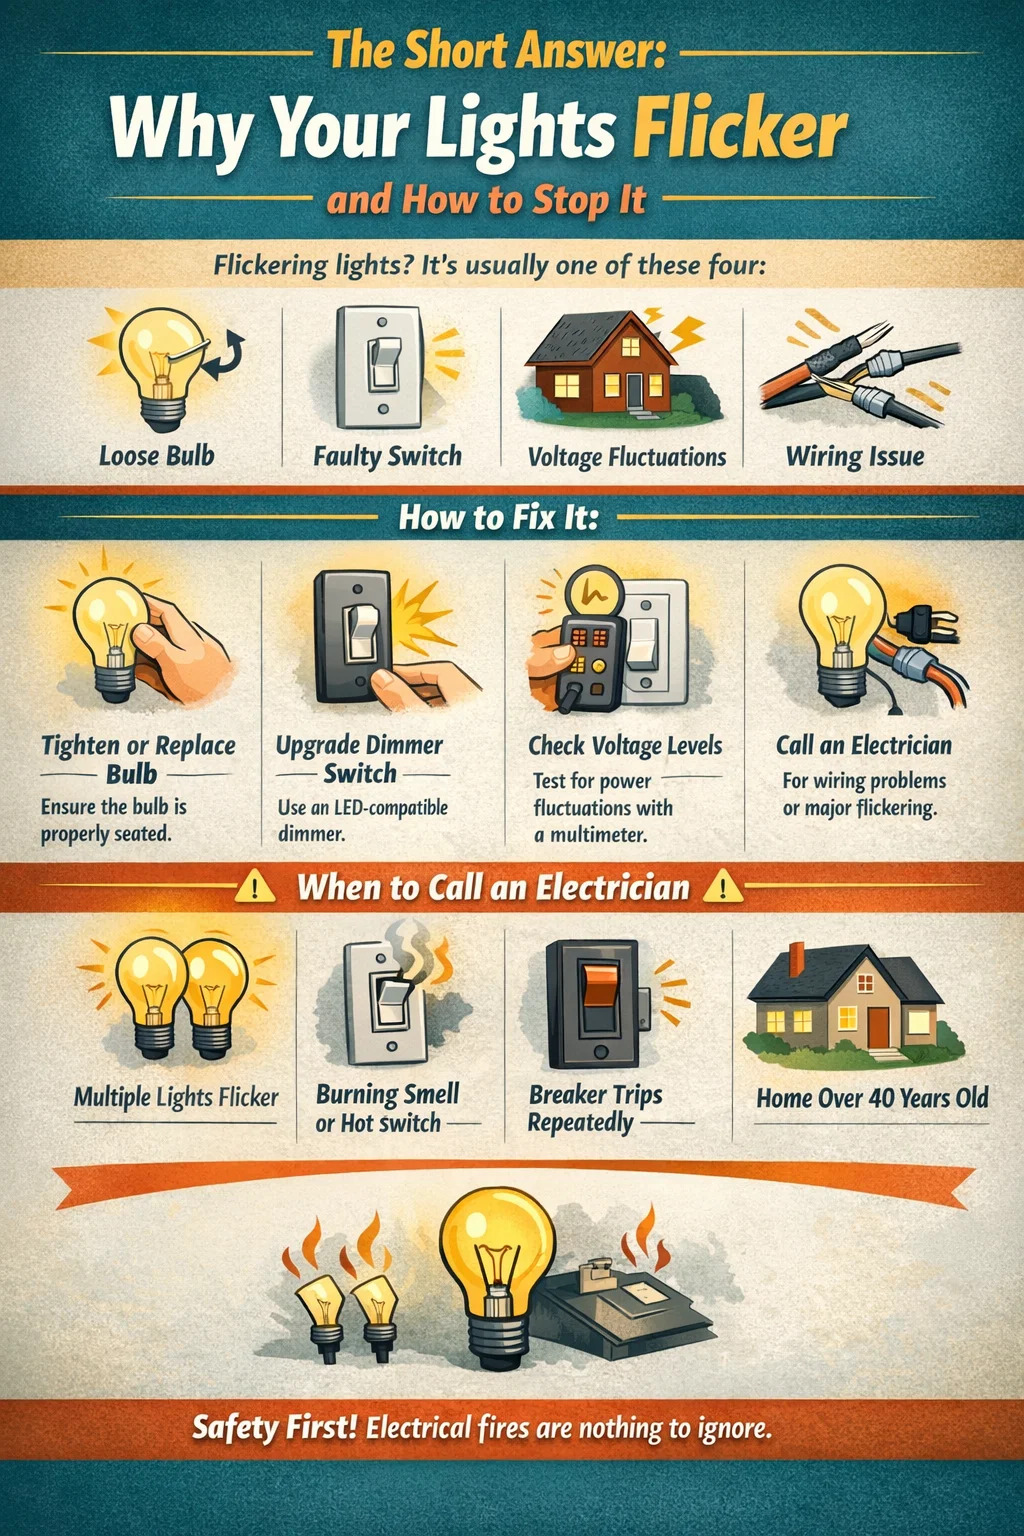
Flickering lights are almost always caused by one of four things: a loose or incompatible bulb, a faulty light switch, voltage fluctuations in your home's electrical supply, or a wiring problem somewhere in the circuit. In most cases, the fix is straightforward—tighten the bulb, replace a dimmer switch, or swap out an incompatible LED. However, if multiple lights flicker simultaneously or you notice flickering linked to large appliances turning on, you may have a more serious electrical issue that requires a licensed electrician.
This guide walks through every common scenario, including specific guidance for outdoor LED lighting, which has its own unique set of flickering causes related to driver compatibility, temperature sensitivity, and moisture ingress.
Before jumping to solutions, it helps to understand what's actually happening. Light flickering is typically a symptom of inconsistent current or voltage reaching the bulb. Here's a breakdown of the most frequent culprits:
This is the number one cause of flickering in a single fixture. When a bulb isn't screwed in firmly, the electrical contact between the bulb's base and the socket becomes intermittent. Even a half-turn of looseness can result in noticeable flickering. Turn off the fixture, wait for it to cool, then re-seat the bulb firmly. This alone resolves the problem in a large percentage of cases.
Dimmer switches designed for incandescent bulbs do not work properly with LED or CFL bulbs unless specifically rated for them. Old-style TRIAC dimmers operate by rapidly cutting power at specific points in the AC cycle. LEDs require a minimum load to function smoothly, and when that minimum isn't met—often the case with older dimmers—the result is visible flickering, especially at lower brightness settings. The fix is replacing your dimmer with one explicitly labeled as LED-compatible. Brands like Lutron and Leviton both produce dimmers rated for LED loads as low as 5W.
If your lights dim or flicker briefly when a large appliance—like a refrigerator compressor, air conditioner, or washing machine—kicks on, that's a voltage drop. These appliances draw a surge of current at startup, which momentarily reduces voltage to the rest of the circuit. A brief flicker lasting less than a second is generally normal. However, if the flickering lasts several seconds or happens frequently, it suggests your home's electrical panel may be undersized or that circuits are overloaded. In the US, standard household voltage should remain between 118V and 122V. Anything consistently outside that range warrants an electrician's attention.
A worn-out or loose switch can cause flickering even when the bulb and wiring are perfectly fine. If you notice flickering when you wiggle the switch or if the switch feels loose in the wall plate, the switch itself is likely the problem. Replacing a standard single-pole switch costs less than $10 in parts and takes about 15 minutes with a screwdriver and a voltage tester. Always turn off the breaker before working on switches.
Loose wiring inside a junction box, fixture, or panel is a more serious concern. When wire connections work loose over time—especially in older homes—the resistance at the connection point creates heat and causes intermittent power delivery. This is not just an annoyance; loose wiring is one of the leading causes of electrical fires. If tightening the bulb and replacing the switch don't solve the problem, and especially if the flickering is widespread or happens across multiple circuits, call a licensed electrician to inspect the wiring.
Rather than guessing, use this step-by-step diagnostic process to identify the root cause efficiently:
Outdoor LED lighting is increasingly the standard for security lights, pathway lighting, porch fixtures, and landscape illumination. LEDs are energy-efficient, long-lasting, and bright—but they flicker for reasons that differ meaningfully from indoor fixtures. Understanding these differences prevents you from chasing the wrong fix.
Unlike incandescent bulbs, LEDs rely on an internal or external driver to convert AC power into the low-voltage DC current they need. If the driver is faulty, undersized, or incompatible with the LED array, flickering is the most common symptom. Driver-related flickering often appears as rapid, rhythmic pulsing rather than the irregular flicker you'd see from a loose bulb. Replacing the driver (or the entire fixture if the driver is integrated) is the correct fix here. When buying replacement outdoor LED fixtures, look for those with a power factor rating above 0.9 and a flicker percentage below 5%—both figures should appear in the product specifications.
Outdoor LEDs are exposed to temperature swings that indoor fixtures never experience. Both extreme cold and extreme heat can affect LED driver performance. In very cold climates (below -20°C / -4°F), some LED drivers take time to warm up and may flicker during the first few minutes of operation. In hot climates, heat buildup around the driver can cause thermal throttling, which presents as dimming or flickering under sustained use. Look for outdoor LED fixtures rated for your local temperature range and with adequate heat-sink design. Quality outdoor LED lighting products list an operating temperature range—a good fixture typically handles -40°C to 50°C without issue.
Water getting into an outdoor fixture is a leading cause of flickering and early failure. Even fixtures that appear to be sealed can develop cracks or degraded gaskets over time, allowing moisture to reach the driver or internal connections. When diagnosing flickering in an outdoor fixture—especially one that flickers more after rain—check the IP (Ingress Protection) rating. For exposed outdoor installations, you need at least IP65, which means dust-tight and protected against water jets from any direction. Fixtures near pools, sprinklers, or in very wet climates should be IP66 or IP67 rated. If moisture has already reached the driver, the fixture will need to be replaced.
Outdoor lighting circuits frequently involve long wire runs to reach pathway lights, security lights at the edge of a property, or landscape fixtures. Over long distances, wire resistance causes a measurable voltage drop. For example, running a 12-gauge wire for 100 feet at 15 amps produces a voltage drop of roughly 2.4 volts—usually acceptable. But with thinner wire or longer runs, the drop can push LEDs below their minimum operating voltage, causing flickering or failure to illuminate fully. Use a voltage drop calculator when planning new outdoor LED installations, and upsize your wire gauge for runs exceeding 50 feet.
Many outdoor LED fixtures include integrated motion sensors or photocells (dusk-to-dawn sensors). These components are designed and tested with specific LED loads. When you replace a fixture's original bulb with a higher- or lower-wattage LED, or install a third-party sensor on an existing LED fixture, compatibility issues can cause flickering, false triggers, or rapid on/off cycling. Always verify that your LED bulb or fixture is listed as compatible with the sensor type being used. Some motion sensors have a sensitivity or time-delay adjustment that can also reduce nuisance flickering at the edges of the detection zone.
The table below summarizes the key differences in flickering causes and solutions between indoor and outdoor LED fixtures to help you target the right fix faster:
| Cause | Indoor LED | Outdoor LED Lighting | Fix |
|---|---|---|---|
| Loose bulb | Very common | Less common (integrated fixtures) | Re-seat bulb |
| Incompatible dimmer | Very common | Uncommon | LED-compatible dimmer |
| Driver failure | Occasional | Very common | Replace driver or fixture |
| Moisture ingress | Rare | Common | Replace fixture (IP65+) |
| Voltage drop (long runs) | Rare | Common | Upsize wire gauge |
| Temperature extremes | Rare | Common | Rated fixture for climate |
| Loose wiring | Occasional | Occasional | Electrician inspection |
| Sensor incompatibility | Occasional | Common | Compatible sensor/bulb pairing |
Turn off the breaker. Remove the wall plate and pull the dimmer from the box. Note the wire connections (take a photo). Purchase an LED-compatible dimmer—Lutron Maestro and Caseta models are widely recommended and support loads as low as 5W per bulb. Connect the new dimmer following the manufacturer's wiring diagram. Restore power and test. Many people find that simply doing this resolves flickering that has persisted for months.
Measure the voltage at the fixture using a multimeter. If you're seeing less than 108V at a 120V fixture, voltage drop is likely contributing to your flickering. For low-voltage landscape systems (12V), acceptable drop is even tighter—aim to keep the fixture voltage above 10.5V. Solutions include: running a shorter wire from the transformer, switching to heavier gauge wire (10 AWG instead of 12 AWG for long runs), or adding a second transformer closer to the affected fixtures. For line-voltage outdoor circuits, upgrading wire gauge requires opening walls or trenching, which typically means bringing in an electrician.
Once water has reached the driver or internal connections of an outdoor LED fixture, repair is rarely practical. Turn off the circuit at the breaker. Remove the fixture. Inspect the junction box for moisture and dry it thoroughly before installing the replacement. Choose a new fixture rated at minimum IP65. Apply weatherproof silicone sealant around the junction box cover. Make sure all wire splices inside the box use waterproof wire nuts or gel-filled connectors.
If flickering consistently coincides with a refrigerator, HVAC unit, or pump motor starting up, the first step is confirming those appliances are on their own dedicated circuits. Refrigerators and HVAC equipment should never share a circuit with lighting. If they do, having an electrician add a dedicated circuit for the appliance typically resolves the flickering immediately. For more persistent whole-home voltage issues, a whole-house surge protector or automatic voltage regulator (AVR) can smooth out supply fluctuations. Contact your utility company if you suspect the issue originates at the service entrance—they are responsible for maintaining consistent supply voltage to your meter.
This is the fix that should always be left to a professional unless you have confirmed electrical experience. Turn off the breaker and verify with a non-contact voltage tester before touching anything. Inside a junction box or fixture canopy, inspect wire nuts—they should be tight, with no exposed copper outside the connector. Check that wires are properly inserted into backstab connectors (better yet, switch to screw terminals, which are more reliable). In an electrical panel, loose neutral connections are a particularly dangerous cause of whole-home flickering and require immediate professional attention.
Many flickering light fixes are genuinely DIY-friendly—replacing a bulb, swapping a switch, or upgrading a dimmer. But certain situations require a licensed electrician. Do not attempt to fix these yourself:
Electrical fires cause an estimated 51,000 home fires per year in the United States, according to the Electrical Safety Foundation International (ESFI). The cost of an electrician's inspection—typically $100–$200 for a service call—is negligible compared to the risk of ignoring a serious wiring fault.
Prevention is far better than troubleshooting after the fact. When selecting outdoor LED lighting for new installations or replacements, use these criteria to avoid flicker-prone products:
Flicker percentage (also called modulation depth) indicates how much the light output varies over time. The IEEE 1789-2015 standard recommends a flicker percentage below 5% for general lighting, and below 1% for sensitive environments. Many budget LED fixtures have flicker percentages of 30–60%, which may not be visible to the naked eye but can cause eye strain, headaches, and problems with video recording. Premium outdoor LED lighting brands publish this figure—if it's not listed, ask before buying.
As noted earlier, the IP rating determines resistance to dust and water. For a wall-mounted porch light under a roof overhang, IP44 may be sufficient. For a pathway light exposed to sprinklers, IP65 is the minimum. For fully submerged applications like pond lighting, you need IP68. Choosing the correct IP rating for your environment is one of the most effective ways to prevent moisture-related flickering and early failure.
High-quality outdoor LED fixtures use constant-current drivers rather than constant-voltage drivers. Constant-current drivers maintain a steady current through the LED array regardless of voltage fluctuations, which dramatically reduces flicker. Look for fixtures that list their driver brand (Mean Well and Inventronics are reputable driver manufacturers) or describe the driver type in the specification sheet. A CRI (Color Rendering Index) above 80 also generally correlates with better overall build quality in the LED module.
Heat is the primary killer of LED drivers. Outdoor fixtures that trap heat around the driver will have shorter lifespans and are more prone to flickering as components degrade. Look for fixtures with visible heat sink fins on the housing, or those specifically rated for high-ambient-temperature environments. Avoid installing LED fixtures inside enclosed outdoor lanterns or globes unless the fixture is specifically rated for enclosed use—the trapped heat can reduce driver life from 50,000 hours to under 10,000 hours and introduce flickering within the first year.
A question that comes up often is whether to replace the bulb or the whole fixture. Here's how to tell:
The average lifespan of a quality LED driver is rated at 50,000 hours, which translates to roughly 17 years at 8 hours of use per day. Budget fixtures with poor driver components can fail in as little as 2–3 years, especially when exposed to outdoor conditions. Spending 20–30% more upfront on a well-rated outdoor LED fixture almost always saves money over a 10-year period.
A standard 15-amp circuit can safely handle about 1,440 watts of continuous load (80% of its 1,800W capacity). If a lighting circuit is also feeding multiple outlets running space heaters, computers, or other equipment, the combined load may cause voltage sags that manifest as flickering. Adding up the wattage on a circuit using a simple list of connected devices can reveal whether overloading is the culprit.
A loose or corroded neutral wire—either at a junction box, panel connection, or utility transformer—can cause dramatic flickering across multiple circuits. In severe cases, a broken neutral at the utility connection can cause some circuits in a home to run at elevated voltages while others run low, potentially damaging appliances. This is an emergency situation. If lights in your home are flickering at different intensities in different rooms and some are burning unusually bright while others are dim, call your utility company immediately—do not wait for an electrician appointment.
Smart switches, smart dimmers, and home automation systems all communicate with bulbs using small electrical signals. Some LED bulbs are not designed to receive these signals and interpret the data pulses as power interruptions, resulting in flickering. If flickering started immediately after installing a smart switch or smart dimmer, the issue is almost certainly a compatibility problem. Most smart switch manufacturers (Lutron, Leviton, GE/Enbrighten) publish compatibility lists for LED bulbs on their websites. Using a bulb and switch combination from the same manufacturer's compatibility-tested list resolves this in nearly every case.
Not all LED bulbs are created equal. Bargain-bin LEDs from unknown brands frequently use low-quality internal drivers that flicker at 120Hz (twice the AC frequency)—fast enough that many people can't consciously detect it but slow enough to cause visual fatigue during prolonged exposure. Established brands like Philips, GE, Cree, and Sylvania have consistent quality control and publish flicker data for their products. Spending $3–$5 more per bulb on a reputable brand is one of the simplest ways to avoid flicker issues entirely.
| Symptom | Most Likely Cause | Recommended Fix | DIY or Pro? |
|---|---|---|---|
| One light flickers | Loose bulb or bad socket | Re-seat bulb, test new bulb | DIY |
| Flickers on dimmer at low setting | Incompatible dimmer | LED-compatible dimmer | DIY |
| Flickers when appliance starts | Shared circuit or voltage drop | Dedicated circuit for appliance | Pro |
| Outdoor LED flickers after rain | Moisture ingress | Replace fixture (IP65+) | DIY or Pro |
| Whole house flickers | Neutral fault or utility issue | Utility company + electrician | Pro (urgent) |
| Flickers with smart switch | Bulb/switch incompatibility | Use compatible bulb per list | DIY |
| Outdoor LED flickers in cold | Driver cold start issue | Climate-rated fixture | DIY |
| Warm switch plate + flicker | Loose wiring (fire risk) | Electrician immediately | Pro (urgent) |

Contact Us for More Details
Contact Information
Add:
No. 8 Qingcang Road, Qiangjiao Town, 315612 Ninghai, Ningbo, China
Phone:
+86-574-83530320
Fax:
+86-574-83530330
E-mail:
Join our community and stay connected
 English
 Français
 Español


